Dawn Of The Dark Art Society Members Group Show - 22 OCTOBER - NORTH BERWICK, MAINE by Zaki Saati

Will be taking part in the Dawn Of The Dark Art Society Members Group Show at Skull and Snake Tattoo Art Gallery, Friday October 22nd. 5pm-10pm

Excited to be part of it, if you live in the area don’t miss out!!

80+ artists from around the world will be taking part.

Skull and Snake Tattoo Studio Art Gallery
50 Elm Street
North Berwick, Maine, USA

Curated by Manhands Dan Kelley

Empowered by Chet Zar

> Link to Event <

Patreon Page for a more Detailed Insight into my Art and Process by Zaki Saati

There is a Patreon page for anyone interested in supporting my work and getting extra content that shows my work in progress and many other things. I will still be posting from time to time on this blog the work in progress and stages of painting, but most of it will be on the Patreon page. It is a dollar a month and you can cancel at any time. For people interested in purchasing my artwork, this is also a way of knowing what I am working on and purchase art before anyone else. You also get a 10% discount on my oil paintings and drawings for being a Patreon supporter.

https://www.patreon.com/saatiart

It will be almost a year now since I have transitioned to a full-time artist and getting any form of financial support keeps me busy making art and afford art supplies and materials.

Thank you all for the interest and support.

-Zaki

Patreon-logo-1.png

"Untitled" Oil Painting, Inspired By An Old Dream by Zaki Saati

Here is my latest oil painting.

the_ride_web.jpg

The idea was taken from a dream I’ve had around 2015. For me, this year had it’s many shares of interesting phenomenon, many of which were very strange. Not to mention the extreme abundance of vivid dreams that had this common theme of “weirdness” or “absurd”. Some were very disturbing as well. I guess to this day, I still remember them clearly and occasionally draw some inspiration from them in my artwork.

So in this specific image with the statue, I think the painting is a bit darker than the dream itself. There was this female statue, which was alive and carrying this group of people around this Italian style courtyard. In the painting, I only left one character sitting in this “carriage”. I think the only aspect of the dream that is fully communicated in this painting are the colors and the atmosphere, with these green-bluish tones.

Here is a video of progress for this oil painting.

The Gatekeeper - (Oil Painting Progress Video) - Music by Nargaroth by Zaki Saati

A progress video to the painting titled “The Gatekeeper”.

Video Link to Youtube

This oil painting was completed rather fast, compared to my other ones. And it is a rather simple painting. I also tried some different mediums, using a mix of turpentine and stand oil.

the_gatekeeper_web.jpg

I made three different mediums with different variations in oil content. The first layer was done with the more turpentine diluted medium. The second medium, a half-half ratio, was used for the majority of the painting layers. And the third one, almost all stand oil and a bit of turpentine was used for final glazing. And it did take a full week to dry.

Normally I have some kind of landscape at a minimum, but having just the sky made this much easier.

Anyway, hope you enjoy.

"Eternity" - Some thoughts on the painting and where the idea originated from. by Zaki Saati

This oil painting was based off an old sketch or drawing I did back in 2009, in my college days. It was during my studies in Computer Science, which did not go too well with me.

Failing many of the classes and being completely uninterested in the program to the point of not even attending them anymore.

One of the grades was a whooping 8%. The program was not so much the issue as my state of mind and emotional wellbeing. I remember having so much hate and anger, constantly everyday…

So I would often go in the library during my free time and draw whatever I could at that time. I guess I could say that 2009 was when just I started developing my artwork and being serious about it, to try and communicate something that was hard to express verbally.

I remember being very inspired by some of the artwork by Theodor Kittelsen and I still am.

That was after discovering some of the albums by Buzum, which I was heavily into back then. Especially some of the more ambient music.

And for a long time, I was drawing inspiration from music. I wish it was the case today, it would be much easier for me to find a subject.

Either way, I wanted to paint this image just as a sort of tribute to those times I was in, as an 18 year old. And maybe revisit some of the ideas and feelings that I had back then.

Hope you enjoy.

-Zaki

"Drifting Far Away" - Oil Painting video progress by Zaki Saati

This is a small video for the oil painting “Drifting Far Away”. It was an old idea that was sitting in my head for many years, even back when I didn’t know how to paint. I used the same technique as the previous two paintings, focusing on the initial drawing at first, making a contour, then applying the paint without using any medium or linseed oil. That enabled me to work faster and not deal with excess drying time.

So, I was happy enough to be able to make it relatively close to what was imagined. Maybe the monkey wasn’t there in the initial idea. But, you can never go wrong by adding a monkey if you want to spice things up. An event, a party, a painting? Think about it..

drifting_far_away_web_signed.jpg

Death From Heaven Skies - Oil Painting, technique, comments by Zaki Saati

This last oil painting I completed, had a bit of a different technique that was used. Not using any medium or linseed oil this time, just pure oil paint of the tube.

I primed the fiberboard with gesso and did not use an oil paint layer in the priming. It allowed the surface to be smoother and made it easy to work without a medium.

So I just sketched the drawing on the gesso acrylic layer, then proceeded to outline with a dark brown oil color the contours. After that, I went ahead with the painting process.

step_7.jpg

The idea came to me from doing an automatic drawing, where I let my hand do some vague abstract outlines with a pencil. Once something appeared that I liked, I put some more definition to the sketch and the the frozen corpse emerged in the sketch, with the mountain.

I also got some new small square brushes, which were used for most of the painting. For the later stages, some thin round brushes were used. It’s amazing sometimes what some new tools can allow you to do, before I would just use the same old brush and the painting process was always a bit more slow. So I will be more mindful of the brushes and the state that they are in.

"Bereza" - oil painting process. by Zaki Saati

Final oil painting

Hello there. I have recently complete an oil painting I’ve been working on since late February 2020 and only completed in mid June. I will share some of the process in the writing.

early drawing stage. March 9 , 2020

The world has changed a lot in those few months and there was a lot of emotional stress during. When I was painting, I would forget about the world and just focus on what is in front of me.

Part of why I love to paint, draw and make art, is to escape and forget about the world. Not so much of fear, but out of boredom and fatigue from the mundane. Boredom from the repetition that I see happening on an everyday basis, boredom from the narcissistic modern world that is only concerned with material possession. There really is not much that inspires me from the modern world, except it’s catastrophes and failures. Well, I can keep ranting, but that might bore you, dear reader and internet dweller.

Using burn umber and titanium white to work in some of the values. I will later add Ivory Black for darker cooler tones.

This was also my largest painting so far, so it took me a lot of work and patience. I’ve also ruined it a couple of times during the process; so I had to keep reworking those parts where I’ve made mistakes.

somewhere at 50% in the process.. April 2nd, 2020.

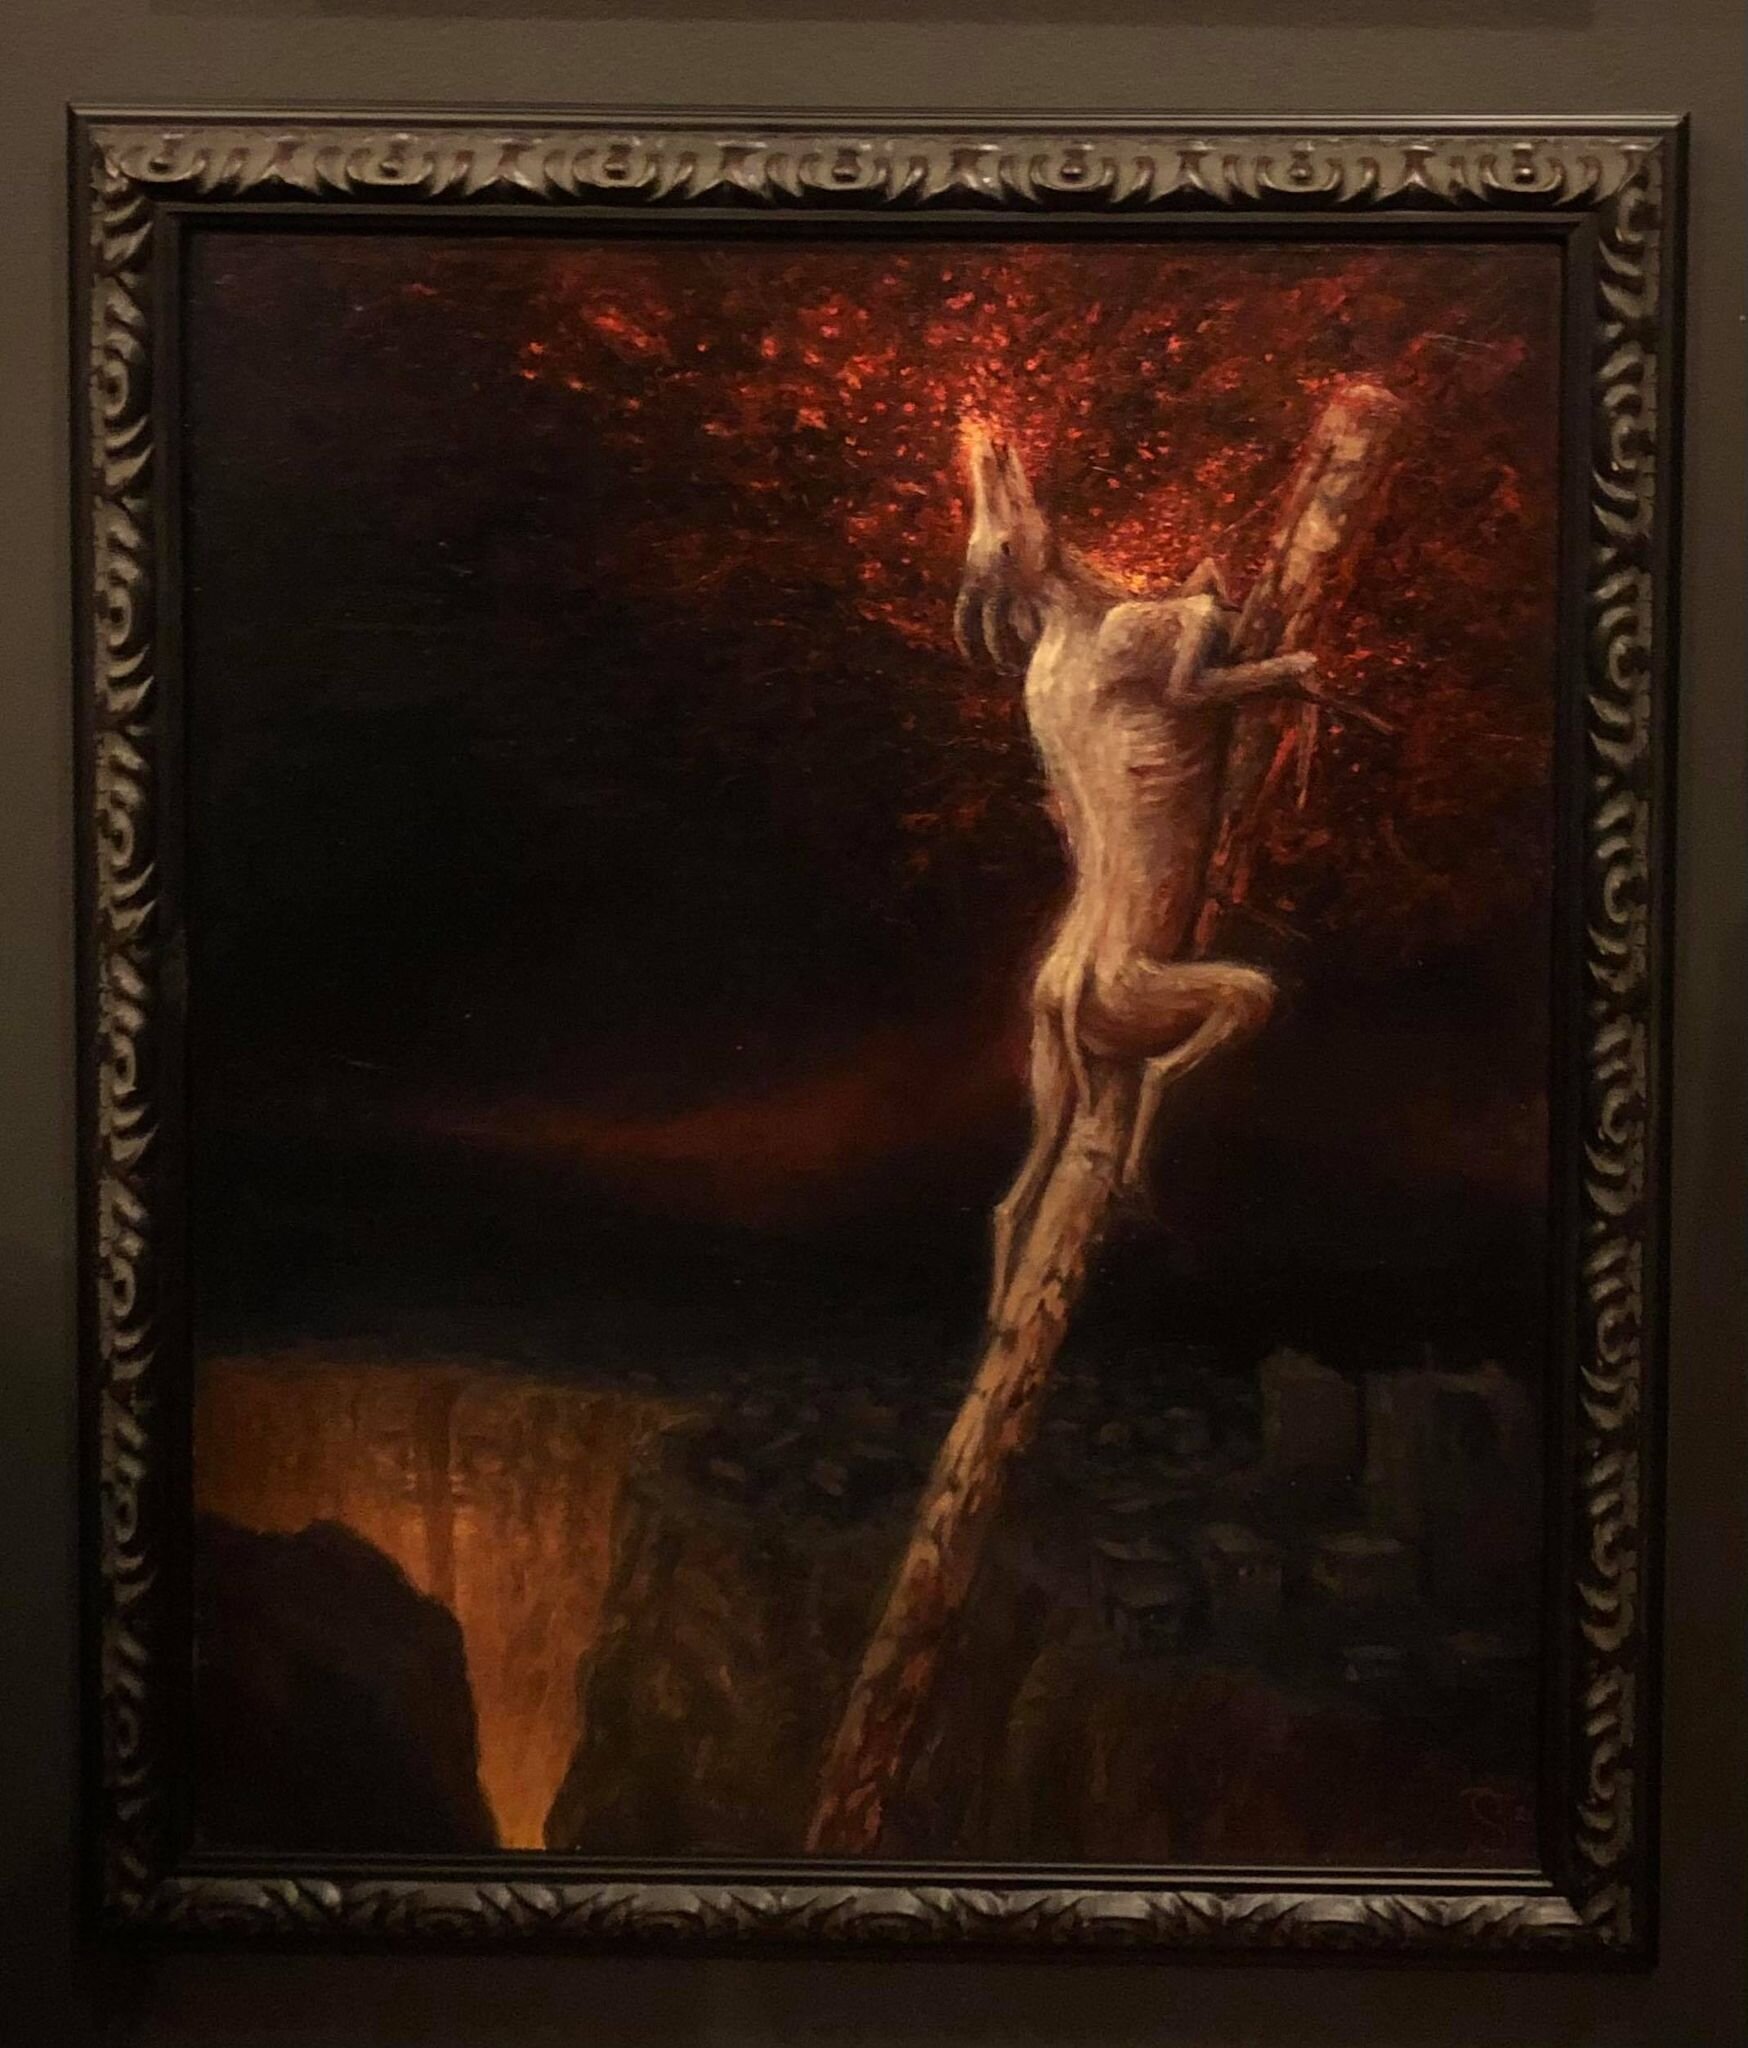
But knowing this happens often while painting, I knew and still know, that mistakes make a painting even better once they are fixed. The mistake itself, takes the painting in an unknown and unpredictable direction. And from there, a new visual concept is created.

Overall, I am happy with the end result. And have managed to keep some of the good things from the graphite drawing, while still fixing some of the perspective and anatomy issues present in it. Although, like I mentioned, the mistakes made it interesting for me.

As for the emotional aspect, working on this painting has broken something in me, but not for the worst. I’ve found a new threshold of patience and endurance, since some sessions took at times 6 hours of work and standing on my feet. As opposed to drawing in graphite on small paper, I can be comfortable and sitting down, listening to music or to my internal monologue. With a small painting, it is easier to allow yourself to fail. But with larger ones, you sort of have to complete it and overwork it to some degree.

This one was also painted on canvas and I realized that I miss the sturdiness of painting on wood. Although I did enjoy some of the texturing effects and opportunities the rugged canvas provided.

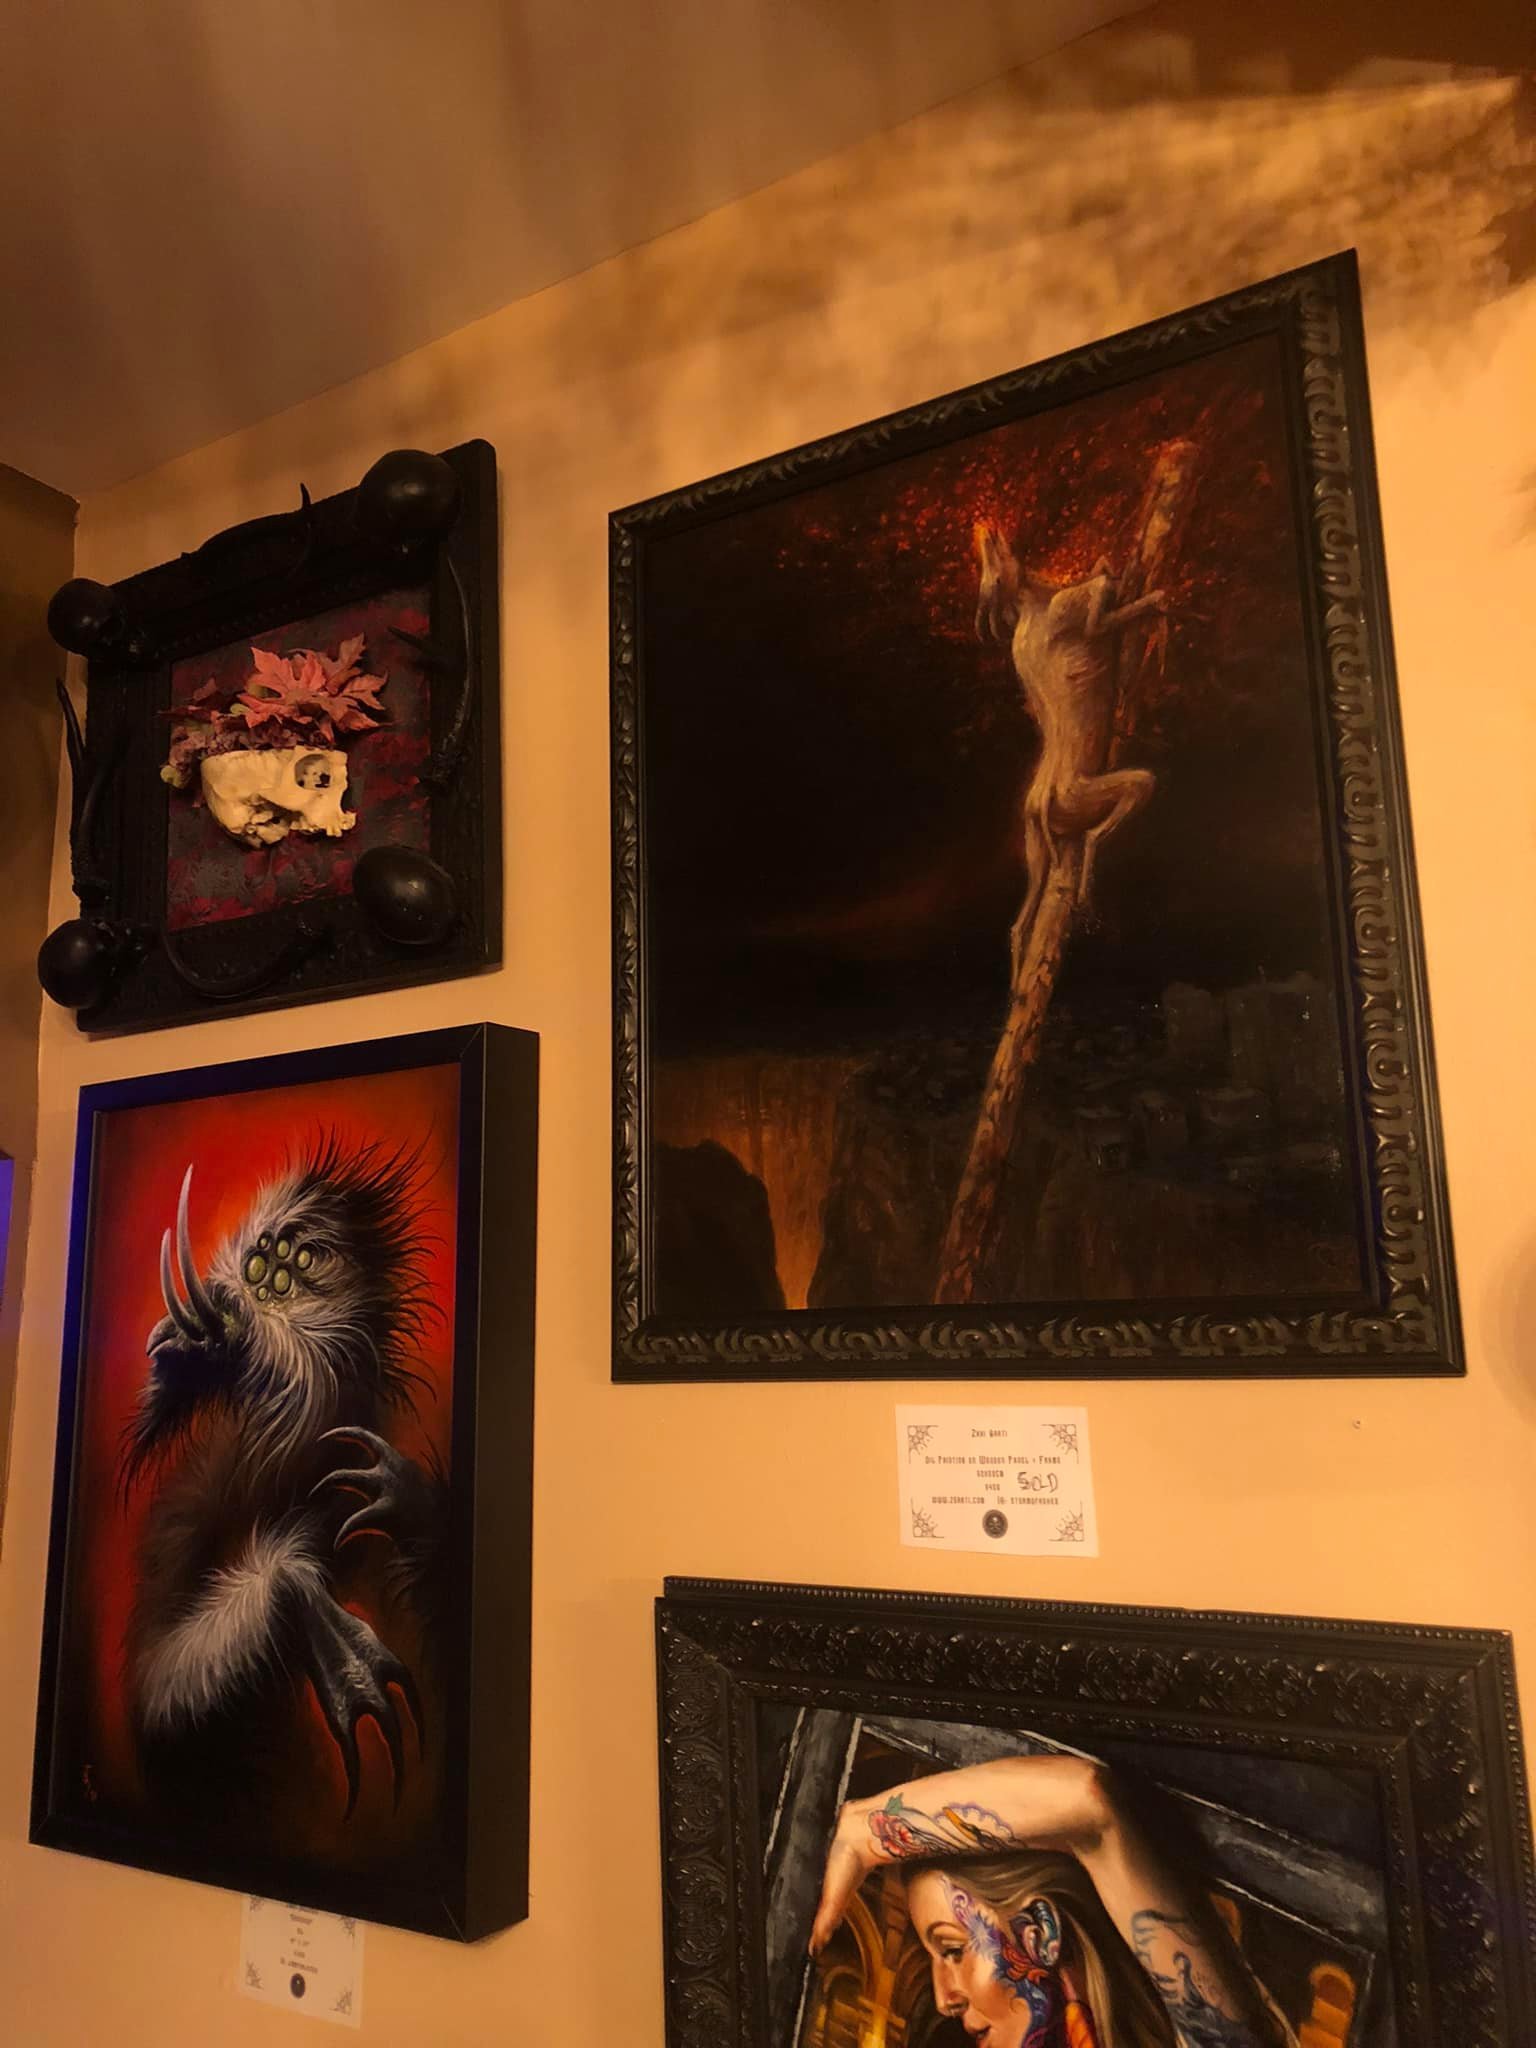
Well, this is all I have to say about this painting.

Thanks for reading and stopping by.

using the trees and view from my window as reference.

(more images below)

closeup

oil painting before applying transparent glazing layer. there’s lots of variation in oils and reflections that I will smooth out later on with glazing.

closeup of vegetation

closeup with final glazing layer using linseed oil.

Experimental Dark Surreal Oil Painting by Zaki Saati

I went with a different approach in painting this piece. Without planning or anything, starting out abstract with the first stage looking like some snobby modern art piece made of random ugly bold shapes. Then making something from those shapes and building from there into something more concrete. I wanted to try my approach to sketching, using like a free-hand method in oil painting. So far, I liked the result. It was a bit of diversion from my usual heavy-planning and more of a trust exercise in some ways. I was almost afraid of what would come out from such an experiment and maybe there was some justification to that fear.

cauliflower_head_web_signed.jpg

Pilgrimage to The Kingdom of Flesh II - Oil painting by Zaki Saati

Greetings!

here is one of my latest oil paintings. took around a month to complete and learned a lot from this one. The perspective was mostly the main challenge in this painting.

It was a continuation based on the universe of an old drawing of mine from 2014 with the same title.

I do not want to say too much about it, but it is an exploration of themes such reincarnation, birth, human pain and human life.

PTTKOF_02_web.jpg
some of the sketches and preparations

some of the sketches and preparations

This is a bit how I prepared the Three-Point Perspective. Using some rolled up paper tubes which I stuck to the board from behind and then marked on the tubes the vanishing points if they went beyond the border of the image. I then used a long ruler…

This is a bit how I prepared the Three-Point Perspective. Using some rolled up paper tubes which I stuck to the board from behind and then marked on the tubes the vanishing points if they went beyond the border of the image. I then used a long ruler to trace the lines and drew some basic geometry and outlines.

I hope you enjoyed looking through. I appreciate any of your feedback.

One of my paintings in the "Konstantin Vasilyev Museum of Slavic Culture." by Zaki Saati

A painting I made specifically for this museum is shown there now. The museum is called “Konstantin Vasilyev Museum of Slavic Culture”, located in Moscow. (Музей Славянской Культуры Имени Константина Васильева)

http://www.museum.ru/M2703

Graphite Pencil Drawing Technique - Tips and Tricks to create an Illustration by Zaki Saati

Hello there,

Here I will show you some of my techniques and materials I used to make the Graphite Drawing below. As a caution for the reader, I have not studied academically in Fine Arts. These are just some of the methods that I have acquired over the years that have worked well for me.

web.jpg

First, here are some of the tools I used:


Pencils :

  • For the pencils, I prefer to stay simple and not have a wide variety of tones. I usually stick to a thick graphite pencil for blocking out the largest shapes and getting those darker tones. My favorite so far is the 8B Faber Castell 9000 JUMBO Graphite Pencil . And yes, it’s power level is over 9000!!. Because you can sharpen it with a utility knife without fearing to break the graphite lead due to it’s thickness .So go ahead and stock up on those, they will prove useful in battle.

    Mechanical Pencils :

  • I also sprinkle in the use of Graphite Mechanical Pencils. You can either use a 0.7 graphite mechanical pencil and sharpen it down with a utility knife to get some more precise detailing. Or add to the 0.7 pencil, the use of a 0.3 mechanical pencil.

    Utility Knife:

  • Next you will need a tooI to sharpen your graphite lead. I never ever use the standard sharpeners anymore, simply because they hold a lot of graphite and wood residue, this will dirty your equipment if you hold everything in one place. Also they take a lot of space and are not usable for every pencil because of the various sizes. Plus, you should ask yourself : “What is more badass? Sharpening with a standard sharpener from kindergarten or using a knife?“ You know the answer to this one, be a dangerous artist. Always carry a utility knife with you. I prefer to sharpen with a Utility Knife or with a razor blade if I do not have the knife at hand. All you need to add to this, is a garbage bin next to you for all the residue. Just align your blade almost parallel to your pencil or lead and sharpen away(carefully). You don’t want to break your graphite lead and you do not want to cut your fingers off. You will need your hands for later…

    Blending and Erasing:

  • What we have next is some tools to make smoother lighting and shading. These will be your Kneaded Eraser and Blending stomps which are pretty cheap. You can use cotton for blending as an alternative if you are on a budget. The Kneaded Eraser is perfect for making big “decisions” regarding lighting, shading, shapes and atmosphere. You can make light rays, highlights, fog, clouds, etc. It also works well in erasing hardened dark zones of graphite, which are sometimes tough to correct.

  • The Blending Stomps are good for creating cloth and folds, skin tones and filling zones that are Out of Focus or simulating some kind of Depth of Field or Motion Blur, if we are speaking in Camera and Photography terminology.

  • The last tool that I recommend is using the Stick Eraser. The one I use is called Paper Mate Tuff Stuff Eraser. I also use the Utility Knife to sharpen this eraser, when I need to make some precise highlights or “white” details.

    Choice of Paper:

  • Depending on your needs, size limitations and texture preference; you will have various options in choosing good paper to draw on. I prefer a thick paper, that can take some damage and not suffer when erasing or drawing. Usually I draw on a Canson 11x17 inch paper. But, I like to vary the paper and brands, depending on my budget which I did in the case of this drawing. Many types and brands will do just fine. Quality, thickness and texture is what I am looking for. I am not a big fan of very textured paper and prefer to use smoother ones. Just be careful and avoid completely smooth paper that has no texture whatsoever. You want the graphite to “stick” well to the paper and you need some friction on the paper to work with graphite. Different textures of paper will give you different final results in the end, it will affect the way you erase, blend and draw.

    Easel and Wood Board:

  • Since I don’t have a draftsman’s table, similar to the ones an architect might have. I use an easel and a wooden board, on which I tape the drawing from the back ( you can also tape the sides). This is to have the drawing facing you and to be able to visualize the proportions and perspective correctly. Typically an easel is used for painting, but you can also use it to place your drawings on it, using the wooden board.


— The Drawing Process. From Start to Finish …

  1. Starting the drawing, I lay out the basic composition, outlines and forms. I work on my perspective, anatomy and pose. Since I am drawing from imagination, I use as much photo reference as I can, but trying not to overly depend on the photographs.

bereza__0010s_0000_Curves 1 copy 10.jpg

2. Here I added some outlines of the wooden roof tiles and working on the walls of the house. I am not worrying about the female figure for now. I also changed the proportions of the moon slightly and made it smaller.

bereza__0009s_0000_Curves 1 copy 9.jpg

3. Here I am working on the values and blocking out the house, from the rest of the elements. I use a mixture of the 8B Jumbo Pencil and the use of Mechanical Pencils for getting darker tones.

bereza__0007s_0000_Curves 1 copy 7.jpg

4. Next, I am working on the trees. I use references from reality for those Birch and Poplar trees. The trees are tall vertical elements and are a good way to unite multiple elements together. For example, the tall tree element helps uniting the ground with the house to the sky, and connecting the other trees in the background. It also is a good way to frame the composition. I am focusing on creating a unified image, where all the visual elements are supporting each other, through composition and through subject matter.

bereza__0006s_0000_Curves 1 copy 6.jpg

5. Here I added a bit of a background, a pathway leading us somewhere. This is to show that not only we have our main subject in the foreground, but we also have a world beyond our main subject that we can vaguely see and explore with our imagination.

I also erased and blocked out some bushes in the foreground. Adding elements closer to the viewer, will create a layer effect and add depth to the distance. I also wanted to break the straight line made by the house where it touches the ground.

I started working on the shading of the face slowly. Giving it some volume and receiving lighting.

bereza__0004s_0000_Curves 1 copy 4.jpg

6. I work on the ground shading and texturing. Adding some volumes and detail to it, like roots, grass, rocks, etc. After that, I add some small outlines and details on the foreground plants which I have erased and blocked out previously.

I also work on the figure and her clothes, using the Blending Stomp to make the folds.

In the background, I add some figures there and a fire. Now we start to develop a story, since it is not only our main subject present, but we also have other people in our “scene”.

bereza__0002s_0000_Curves 1 copy 2.jpg

7. Here I finalize the ground, roots, plants and the main figure with her dress. I use some the 0.7mm and 0.3mm Mechanical Pencils to add small details. But I still have some trees missing in the background…

bereza__0001s_0000_Curves 1 copy.jpg

8. I add the trees in the background, using reference for the branches. I also think of using the massive volumes of the trees to block out my composition and cover certain bright elements of the sky.

I add some final touches to shadows and tones. And that’s it..

bereza__0000s_0000_Curves 1.jpg

Drawing Time Lapse

I hope you enjoyed reading through the process that went into making this drawing. This was my first written tutorial and breakdown of my artwork, hope it was even a bit helpful to you.

If you want to see the full video time lapse of this drawing, you can watch it here.


- Zaki.

New website under construction by Zaki Saati

Hello!!

I moved from www.zakisaati.com to this one . www.zsaati.com

I will soon close down my old website and this one will take over. A bit more simple and efficient.

Currently, I am located in Russia (previously in Canada), so my old website was not working here. This was the main reason for the move. At first I was happy with this company Weebly, but then I learned that they block traffic to websites in certain countries, which they confirmed themselves. A bad business move in my opinion. So I moved to SquareSpace.com , so far I like it more.

Some of my plans for this new website, include having a more active approach to posting content, maybe posting some tutorials, articles and also would like to have some paintings, drawings, prints available for sale through the website, along with some t-shirts that I will have available soon, including some other merch.

For those visiting, thank you for viewing my work and appreciate your feedback and support.

20180930_141127.jpg

All the best.

-Zaki