Hello there,
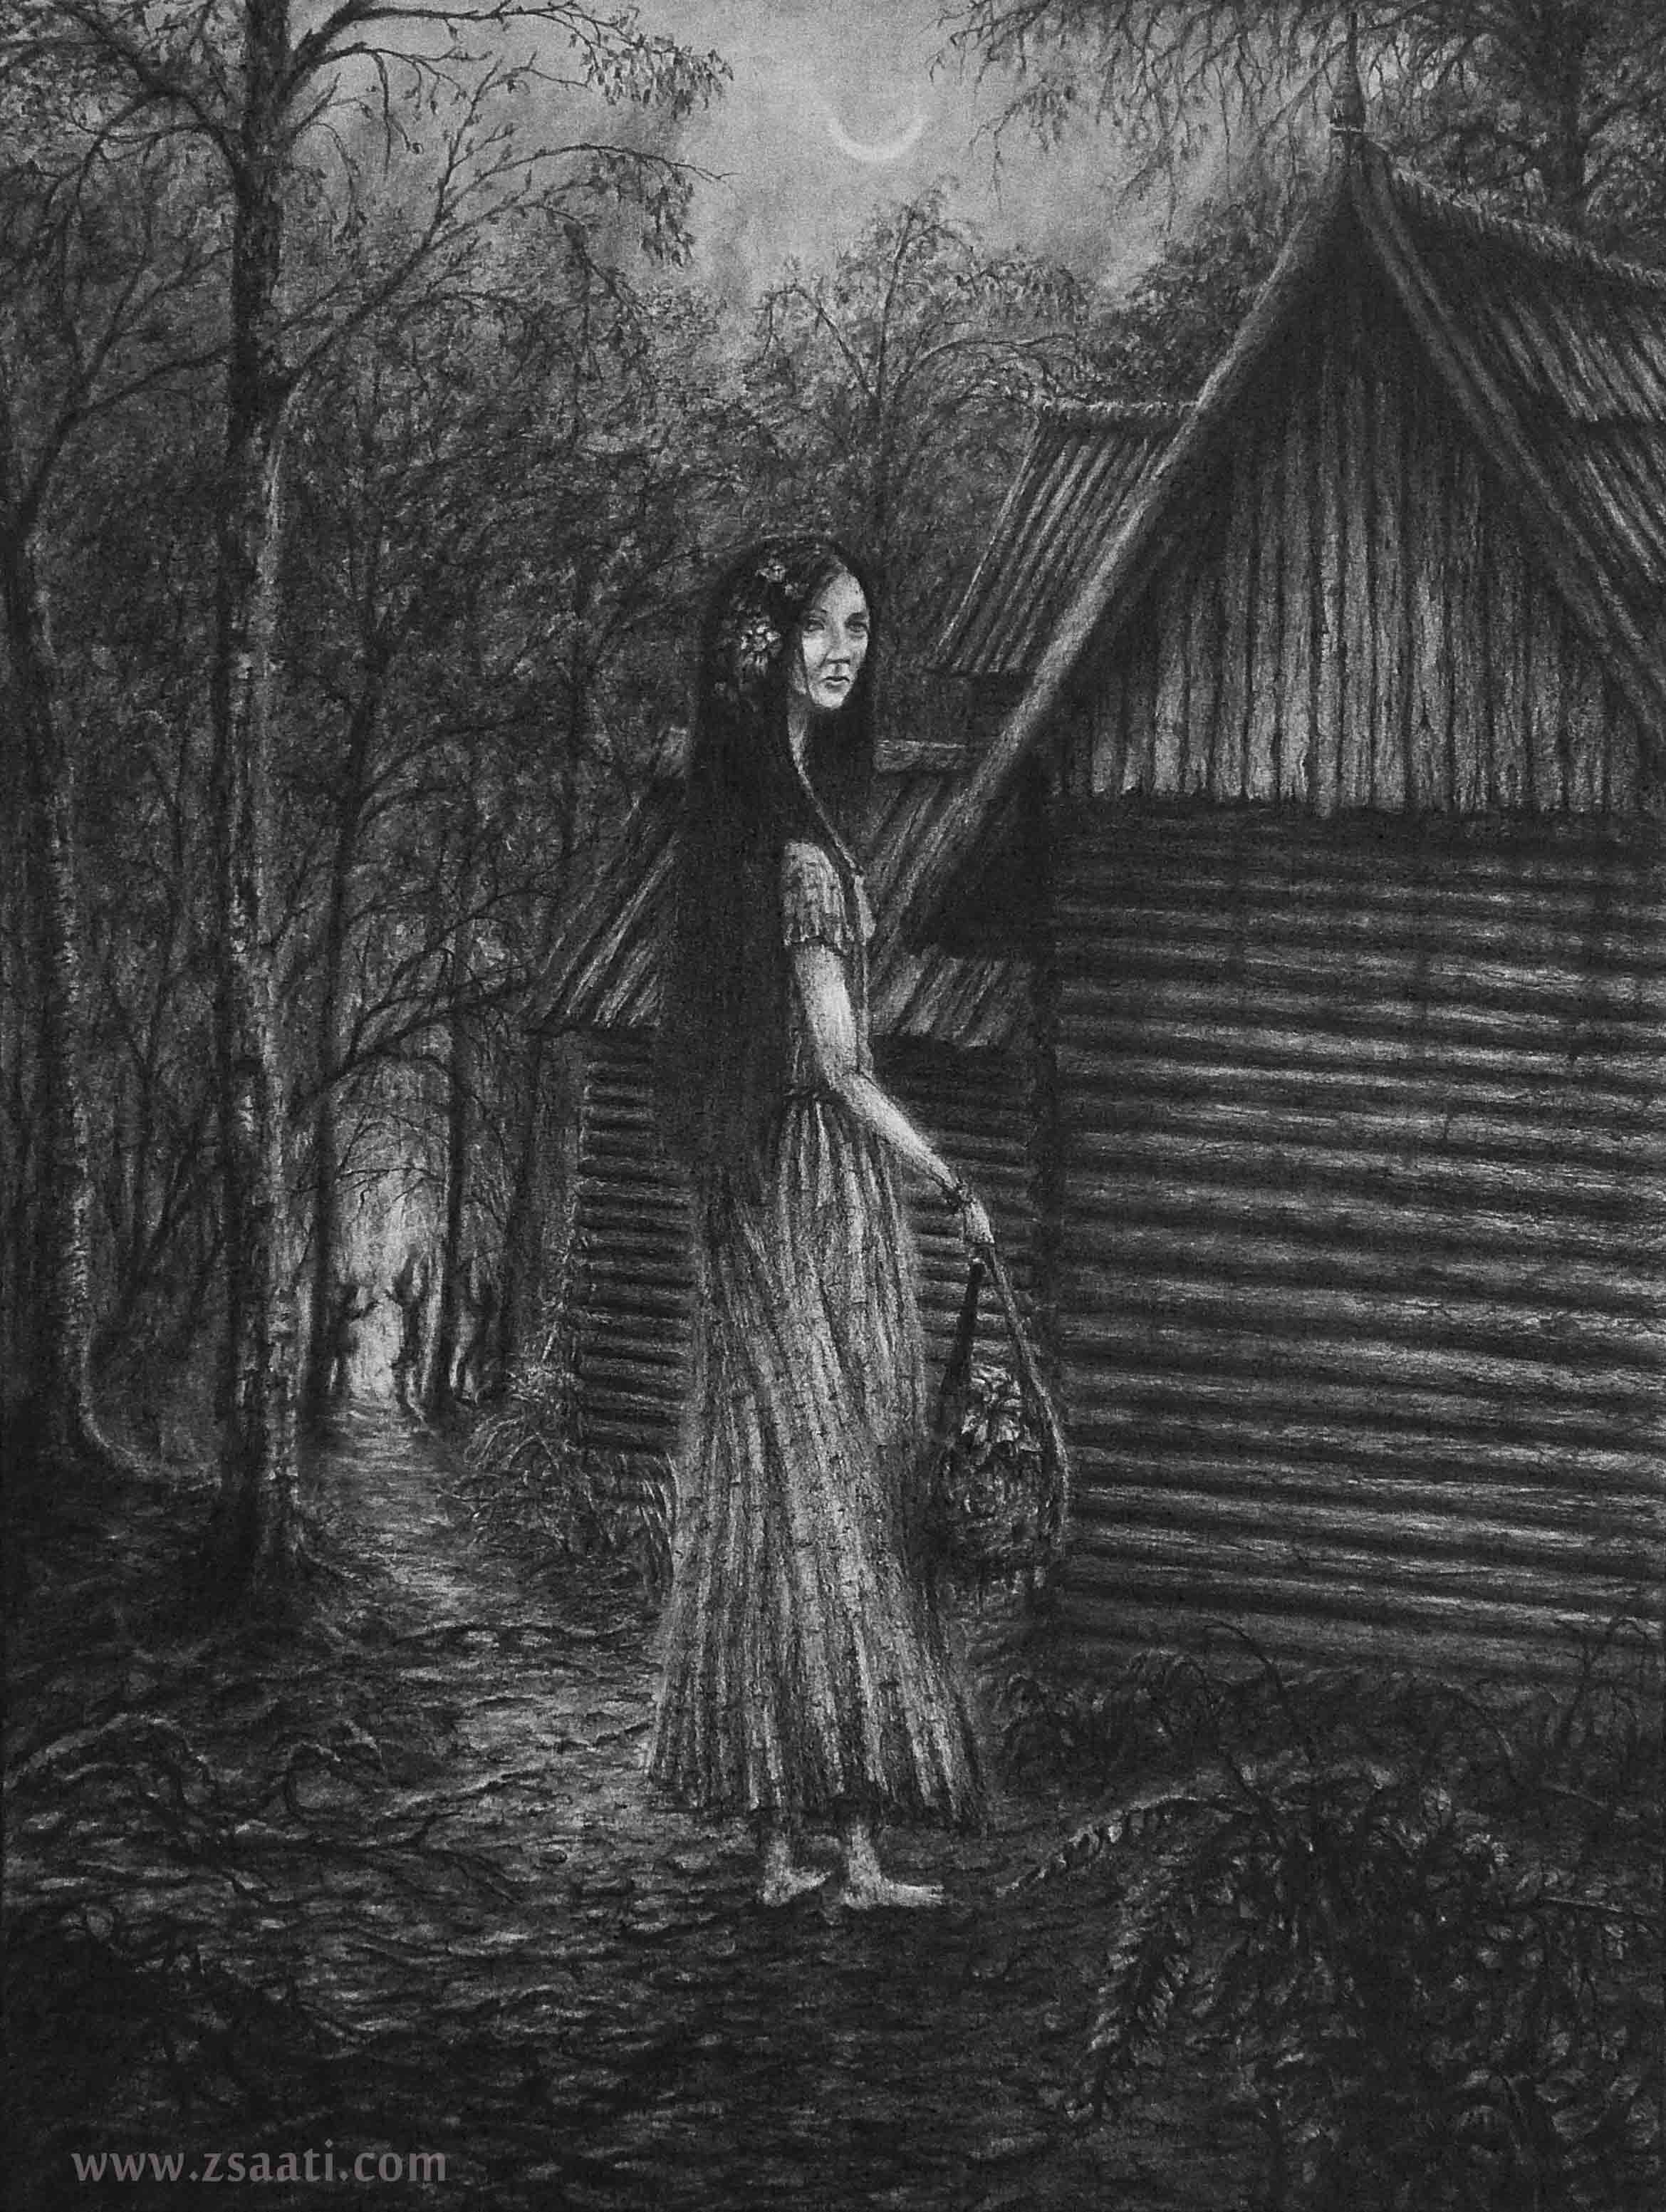
Here I will show you some of my techniques and materials I used to make the Graphite Drawing below. As a caution for the reader, I have not studied academically in Fine Arts. These are just some of the methods that I have acquired over the years that have worked well for me.
First, here are some of the tools I used:
Pencils :
For the pencils, I prefer to stay simple and not have a wide variety of tones. I usually stick to a thick graphite pencil for blocking out the largest shapes and getting those darker tones. My favorite so far is the 8B Faber Castell 9000 JUMBO Graphite Pencil . And yes, it’s power level is over 9000!!. Because you can sharpen it with a utility knife without fearing to break the graphite lead due to it’s thickness .So go ahead and stock up on those, they will prove useful in battle.
Mechanical Pencils :
I also sprinkle in the use of Graphite Mechanical Pencils. You can either use a 0.7 graphite mechanical pencil and sharpen it down with a utility knife to get some more precise detailing. Or add to the 0.7 pencil, the use of a 0.3 mechanical pencil.
Utility Knife:
Next you will need a tooI to sharpen your graphite lead. I never ever use the standard sharpeners anymore, simply because they hold a lot of graphite and wood residue, this will dirty your equipment if you hold everything in one place. Also they take a lot of space and are not usable for every pencil because of the various sizes. Plus, you should ask yourself : “What is more badass? Sharpening with a standard sharpener from kindergarten or using a knife?“ You know the answer to this one, be a dangerous artist. Always carry a utility knife with you. I prefer to sharpen with a Utility Knife or with a razor blade if I do not have the knife at hand. All you need to add to this, is a garbage bin next to you for all the residue. Just align your blade almost parallel to your pencil or lead and sharpen away(carefully). You don’t want to break your graphite lead and you do not want to cut your fingers off. You will need your hands for later…
Blending and Erasing:
What we have next is some tools to make smoother lighting and shading. These will be your Kneaded Eraser and Blending stomps which are pretty cheap. You can use cotton for blending as an alternative if you are on a budget. The Kneaded Eraser is perfect for making big “decisions” regarding lighting, shading, shapes and atmosphere. You can make light rays, highlights, fog, clouds, etc. It also works well in erasing hardened dark zones of graphite, which are sometimes tough to correct.
The Blending Stomps are good for creating cloth and folds, skin tones and filling zones that are Out of Focus or simulating some kind of Depth of Field or Motion Blur, if we are speaking in Camera and Photography terminology.
The last tool that I recommend is using the Stick Eraser. The one I use is called Paper Mate Tuff Stuff Eraser. I also use the Utility Knife to sharpen this eraser, when I need to make some precise highlights or “white” details.
Choice of Paper:
Depending on your needs, size limitations and texture preference; you will have various options in choosing good paper to draw on. I prefer a thick paper, that can take some damage and not suffer when erasing or drawing. Usually I draw on a Canson 11x17 inch paper. But, I like to vary the paper and brands, depending on my budget which I did in the case of this drawing. Many types and brands will do just fine. Quality, thickness and texture is what I am looking for. I am not a big fan of very textured paper and prefer to use smoother ones. Just be careful and avoid completely smooth paper that has no texture whatsoever. You want the graphite to “stick” well to the paper and you need some friction on the paper to work with graphite. Different textures of paper will give you different final results in the end, it will affect the way you erase, blend and draw.
Easel and Wood Board:
Since I don’t have a draftsman’s table, similar to the ones an architect might have. I use an easel and a wooden board, on which I tape the drawing from the back ( you can also tape the sides). This is to have the drawing facing you and to be able to visualize the proportions and perspective correctly. Typically an easel is used for painting, but you can also use it to place your drawings on it, using the wooden board.
— The Drawing Process. From Start to Finish …
Starting the drawing, I lay out the basic composition, outlines and forms. I work on my perspective, anatomy and pose. Since I am drawing from imagination, I use as much photo reference as I can, but trying not to overly depend on the photographs.

2. Here I added some outlines of the wooden roof tiles and working on the walls of the house. I am not worrying about the female figure for now. I also changed the proportions of the moon slightly and made it smaller.

3. Here I am working on the values and blocking out the house, from the rest of the elements. I use a mixture of the 8B Jumbo Pencil and the use of Mechanical Pencils for getting darker tones.

4. Next, I am working on the trees. I use references from reality for those Birch and Poplar trees. The trees are tall vertical elements and are a good way to unite multiple elements together. For example, the tall tree element helps uniting the ground with the house to the sky, and connecting the other trees in the background. It also is a good way to frame the composition. I am focusing on creating a unified image, where all the visual elements are supporting each other, through composition and through subject matter.

5. Here I added a bit of a background, a pathway leading us somewhere. This is to show that not only we have our main subject in the foreground, but we also have a world beyond our main subject that we can vaguely see and explore with our imagination.
I also erased and blocked out some bushes in the foreground. Adding elements closer to the viewer, will create a layer effect and add depth to the distance. I also wanted to break the straight line made by the house where it touches the ground.
I started working on the shading of the face slowly. Giving it some volume and receiving lighting.

6. I work on the ground shading and texturing. Adding some volumes and detail to it, like roots, grass, rocks, etc. After that, I add some small outlines and details on the foreground plants which I have erased and blocked out previously.
I also work on the figure and her clothes, using the Blending Stomp to make the folds.
In the background, I add some figures there and a fire. Now we start to develop a story, since it is not only our main subject present, but we also have other people in our “scene”.

7. Here I finalize the ground, roots, plants and the main figure with her dress. I use some the 0.7mm and 0.3mm Mechanical Pencils to add small details. But I still have some trees missing in the background…

8. I add the trees in the background, using reference for the branches. I also think of using the massive volumes of the trees to block out my composition and cover certain bright elements of the sky.
I add some final touches to shadows and tones. And that’s it..

Drawing Time Lapse
I hope you enjoyed reading through the process that went into making this drawing. This was my first written tutorial and breakdown of my artwork, hope it was even a bit helpful to you.
If you want to see the full video time lapse of this drawing, you can watch it here.

- Zaki.